
The 20-Minute Tombstone
It’s baaaaack! Our 20 minute tombstone. Here’s how to make your own!
*
In a hurry to get haunting this Halloween? Have we got the tutorial for you! You can make the simple tombstone above in just 20 minutes!
NOTE: The basic should take about 20 minutes to complete. Steps marked with a * are EXTRA touches you can add. Account for some extra time if you’ll be adding these.
Before You Start: Gather Your Building Materials
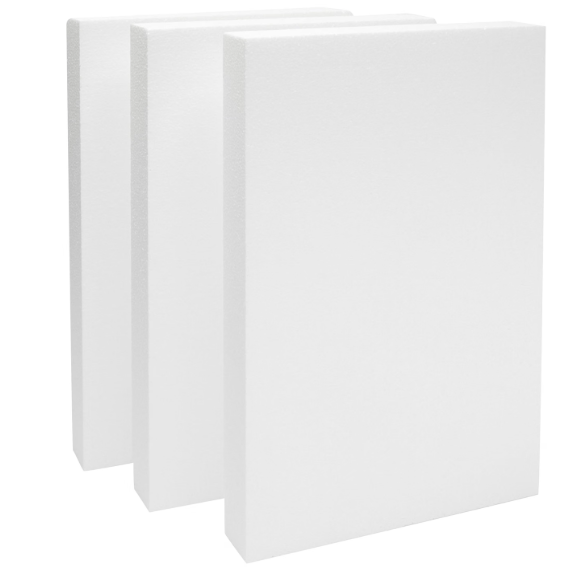
Styrofoam sheets large enough for your stone
Stone-texture style spray paint
Small ground stakes
Small push-pins, any type
A pencil
EXTRA TOUCHES (Optional)
Small dowels, if you’ll be attaching a base
Black or very dark gray acrylic paint for lettering (darker than your spray/base paint)
Gray, black and sand-colored acrylic paint if you will NOT be using spray paint for your stone look, PLUS…
Sea sponge to dab on acrylic paint for your stone look
Pottery tools to add texture and realism
Step 1: Draw Tombstone Outline
Google “tombstones” or “gravestones” for inspiration.
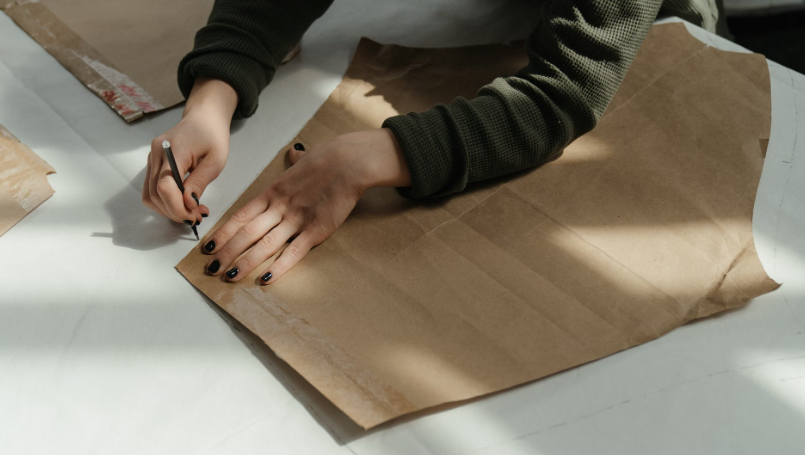
With your pencil, trace your shape on a piece butcher block.
You can use straight edges, rulers, or curved items to draw around if you’d like to make sure you’re being perfectly geometric.
Step 2 (Optional): Etch the Epitaph
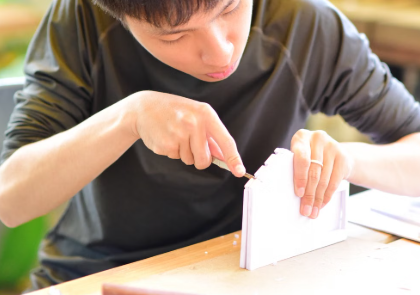
TIP: take a piece of scrap styrofoam you won’t be using and practice first.
Use your imagination and come up with a great saying for your stone.
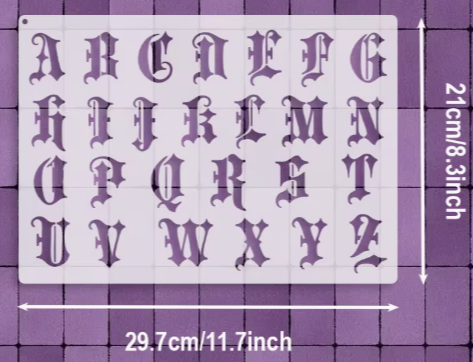
Use stencils or a steady hand to write the words on your butcher block paper.
Cut in short downward strokes along the letters you’ve just drawn. Go slowly!
Remove the paper.
You can add surface cracks and imperfections with your pottery tools for extra realism.
Step 3: Cut the Outside Shape
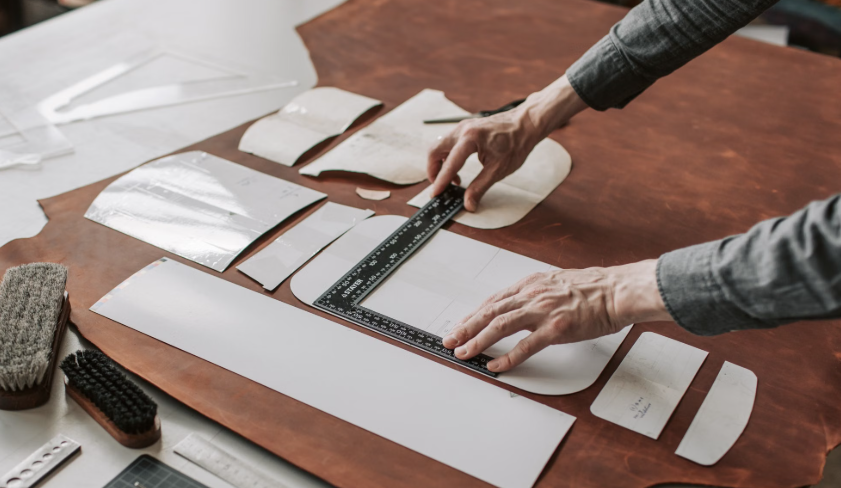
Lay the paper back onto your styrofoam sheet. Tack it down with pins for extra stability.
CAREFULLY cut around the shape of your tombstone with your craft knife. Keep your steadying (non-cutting) hand well away from the cutting tool and don’t cut toward that hand.
Remove the pins and paper.
Remember: a somewhat jagged appearance will add realism (see pic). You don’t have to be perfect about this, especially if you’re aiming for a creepy, weathered look.
Creating a base is optional. If you want to add one, cut either one or two rectangles 1-2″ longer and 2″ wider than your base. You can double-tier it as shown in the stone above by cutting two slightly different-sized rectangles.
Step 4: Attach a Base, if Desired
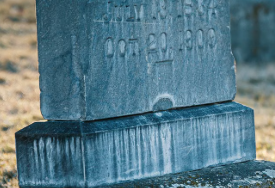
Lay the stone on its side and drive two to three dowels from the base you created in Step 3 above through the bottom of the tombstone.
Leave at least 3″ sticking out from the base so you can drive them into the ground when you’re setting up your cemetery scene.
You’ll need three dowels for a wider tombstone or two for a smaller stone.
Step 5: Paint the Tombstone
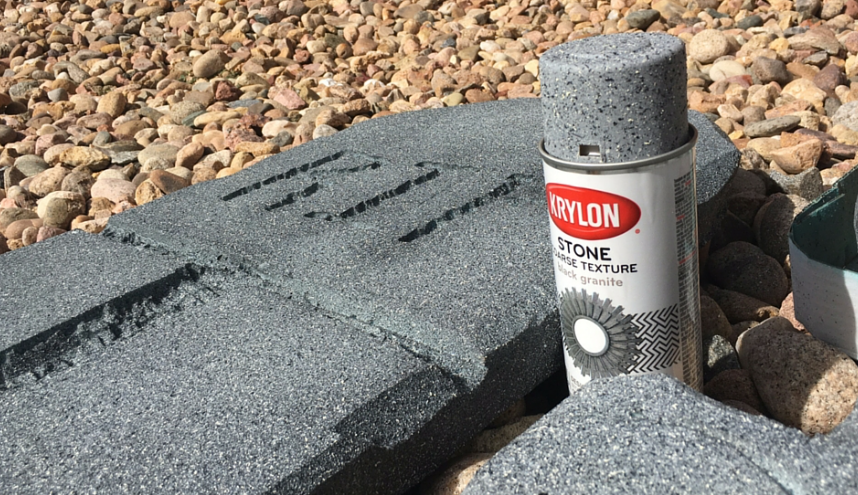
Photo credit: coloradoanne.com
LIGHTLY spray your tombstone with the stone-texture spray.
The spray may slightly melt the styrofoam if you use too much, so spray in short, quick spurts. It a very small amount of melting occurs, that’s okay; the pitting will give a more weathered look.
TIP: Spray outdoors on an old sheet or a few papers. NEVER use spray paint in an enclosed area. If you have asthma or another lung condition, either wear an industrial grade mask or dab acrylic paints with a sea sponge instead.
Step 7: Insert the Stakes
Push two or three stakes or wooden dowels into the bottom of your tombstone so you can secure it into the ground.
Your 20 Minute Tombstone is Done!
Add touches such as graveyard moss or a faux crow for an additional scare factor. Or simply place your gorgeous and grim new creation in the ground as is.
Did you make one? Or perhaps you used your own instructions. Let me know below. I love getting new ideas!
Stay spooky!
